
Eliminator™ LaserScope — User Guide Overview & Operating Instructions
This article summarizes the user guide for the original Burris Eliminator LaserScope.
The Burris Eliminator™ LaserScope (Item 200112) integrates a precision riflescope, laser rangefinder, and automatic ballistic drop compensation into one fast, accurate system. With a single press, the Eliminator ranges your target, calculates drop, and displays the exact aiming point.
Mounting the Eliminator
Eyepiece Focusing
Sighting In
Battery Installation & Power
Ranging & Operation
Programming the Eliminator (Ballistic Table Setup)
Eliminator Essentials
Ballistics, Altitude & Fine-Tuning
Extreme-Range Considerations
Specifications
Care, Storage & Warranty
-
Troubleshooting
1. Mounting the Eliminator
- Use a Weaver- or Picatinny-style base. For long-action rifles with two-piece bases, the front base should be a reversible extension base installed rearward.
Burris XTB (Xtreme Tactical Bases) are recommended. - Clean all mounting surfaces and screw holes to remove oil and grease.
- Shoulder the rifle normally and move the scope forward until you maintain a clear, full field of view.
- Insert mount bolts into the two base slots you intend to use. Place the Eliminator onto the bolts and rock it gently until seated.
- Ensure the hex nuts are on the opposite side from where you will mount the remote transmitter.
-
Push the scope forward fully and torque the hex nuts to 50–70 in-lbs
2. Eyepiece Focusing
Aim at a bright surface (sky or white wall) and rotate the eyepiece focus ring while taking quick glances until the reticle appears sharp.
3. Sighting In
- Start at 25 yards, fire a shot, and adjust the windage as needed.
- Move to your final zero distance to 100. Adjust the windage and elevation as needed.
- Set the turret dial back to “0” without turning the internal knob.
- Reinstall turret caps to protect the mechanism.
- ↑ Back to Top
4. Battery Installation & Power
- Scope battery: CR2
- Remote battery: CR2025
-
Approximate life: ~5000 activations (temperature dependent)
Press the main switch to power on. The display will show Y/M units and battery status for 8 seconds.
5. Ranging & Operation
- Press the main switch or the remote pad to range.
- The Eliminator calculates horizontal distance, compensating for uphill/downhill angles.
- A red dot illuminates on the reticle to indicate the exact holdover.
If a reading cannot be obtained, the display will show three flashing bars.
Remote Activation
Mount the transmitter on the forend or objective bell, within 20 inches and clear line of sight to the receiver. Each activation extends remote capability for 1½ hours.
6. Programming the Eliminator (Ballistic Table Setup)
The Eliminator must be programmed for your specific cartridge and zero distance.
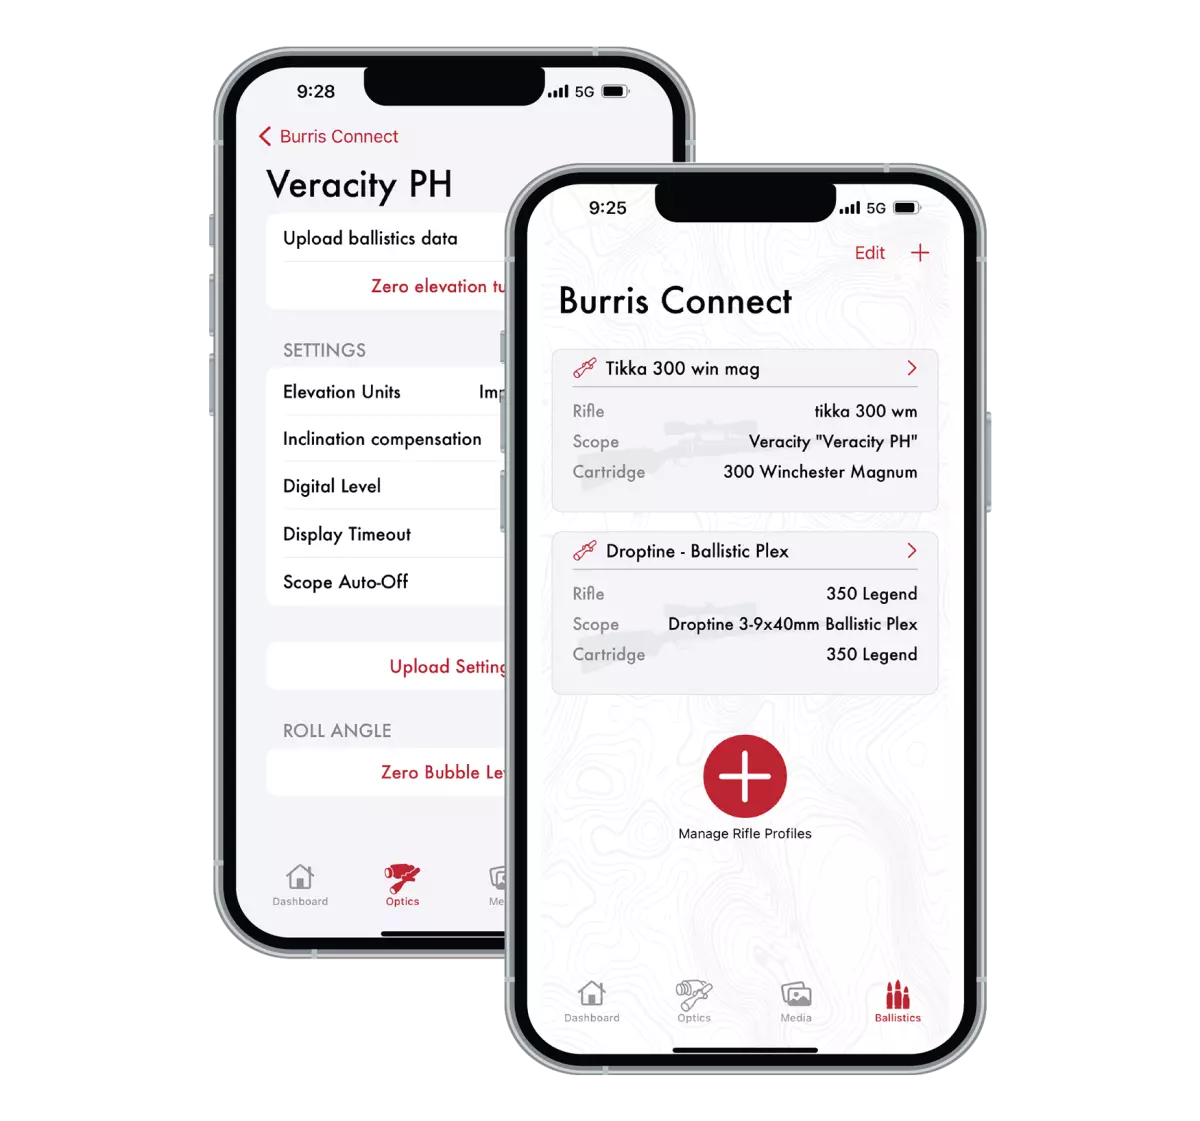
Use our ballistic tool, or the Burris Connect App to get your programming information.
https://www.burrisoptics.com/ballistic-tools#main
https://www.burrisoptics.com/burris-connect
Programming Video
Entering Setup Mode
- Turn on the scope.
- Hold the Forward Arrow + Main Switch for ~6 seconds.
- When the display changes, release both buttons.
You will see firmware version, then the current Y/M setting and Ballistic Table (factory default: Y145).
Ballistic Programming Steps
-
Choose Yards (Y) or Meters (M).
- Choose zero distance:
- 1 = 100 yards/meters
- 2 = 200 yards/meters
- Enter your Drop Number (drop at 500 yards when zeroed at 100).
- Ballistic tables range from 125–163 (100-yd zero) and 225–263 (200-yd zero).
Exit by pressing the Back Arrow.
The Eliminator retains settings even without a battery.
7. Eliminator Essentials
- Trajectory compensation is calibrated for 12x magnification only.
- Always range using the center crosshair.
- The illuminated aiming dot stays active for ~80 seconds.
- If no range is obtained, the scope activates a five-dot fallback Ballistic Plex based on your stored table.
- If behavior seems inconsistent, replace the battery.
8. Ballistics, Altitude & Fine-Tuning
Most published drop data is at sea level. As elevation increases, bullets drop slightly less.
Rule of thumb:
Bullets drop ½ inch less at 500 yards for every 1000 ft of elevation gain.
For best precision, verify with live fire at 500 yards and adjust your ballistic table number if needed.
We also recommend using our Ballistic Tool to fine-tune the drop number for your scope once you’ve chronographed your load.
Accurate velocity data from your specific firearm ensures the tool can generate the most precise drop value for your setup, resulting in better long-range performance and tighter hits downrange.
9. Extreme-Range Considerations
At distances beyond 500 yards, BC variations have a greater effect. For the most accurate long-range performance:
10. Specifications
Effective Ranging:
- Deer: 50–550 yards
- Reflective targets: 50–800 yards
Ranging Accuracy:
- <100 yards: ±1 yard
- 100–550 yards: ±2 yards
- 550 yards: ±3 yards
Operating Temp: +14°F to +122°F
Storage Temp: –13°F to +158°F
11. Care, Storage & Warranty
- Remove the battery for long-term storage.
- Keep turret caps tight to prevent dust/debris.
- Never disassemble the scope.
Warranty:
- Optics & mechanics: Burris Signature Warranty.
Request a return authorization prior to returning.
12. Troubleshooting
Common Symptoms & Causes
Cannot zero / insufficient adjustment:
- Misaligned base holes
- Receiver/barrel alignment issues
- Out-of-spec receiver diameter
- Canted Base (We recommend 0 MOA bases)
Poor accuracy/grouping:
- Barrel or throat wear
- Loose mounts
- Stock bedding issues
- Warped stock
- Heavy trigger pull
- New rifle not broke in.
Blurry image:
- Object too close
- Eyepiece needs refocusing
Comments
0 comments
Please sign in to leave a comment.